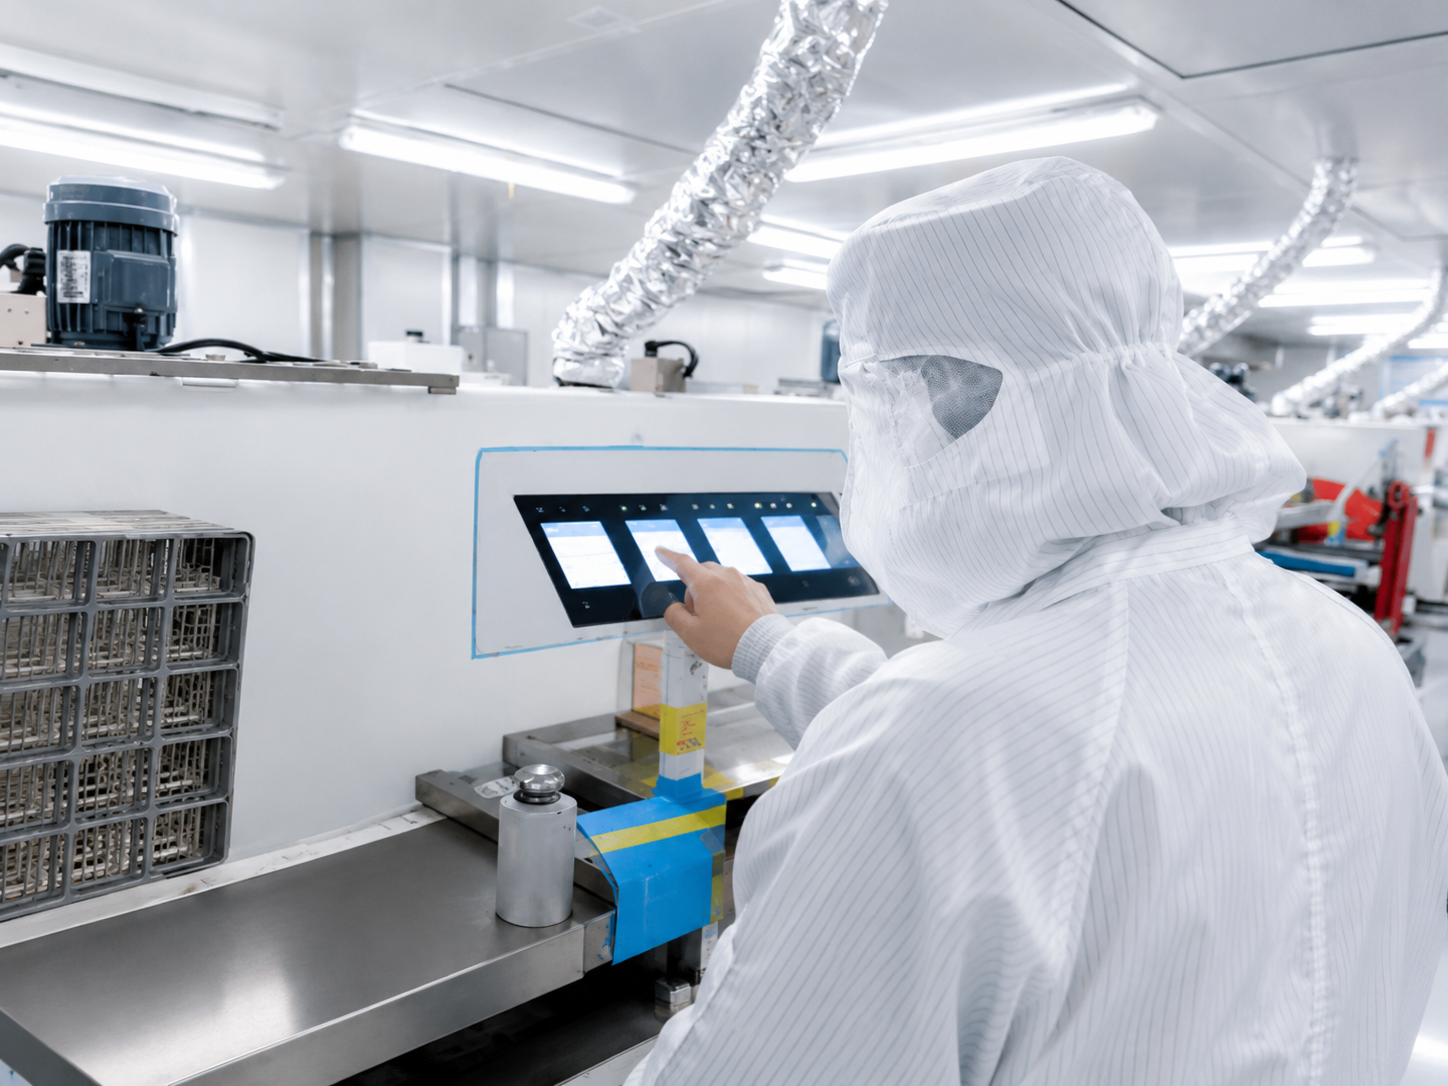
THE LINE
Three stages that turn material into a component.
Printing, die-cutting and optical assembly aren't separate shops here — they're one line. That's what lets a single drawing become a finished, inspected part without leaving the building.
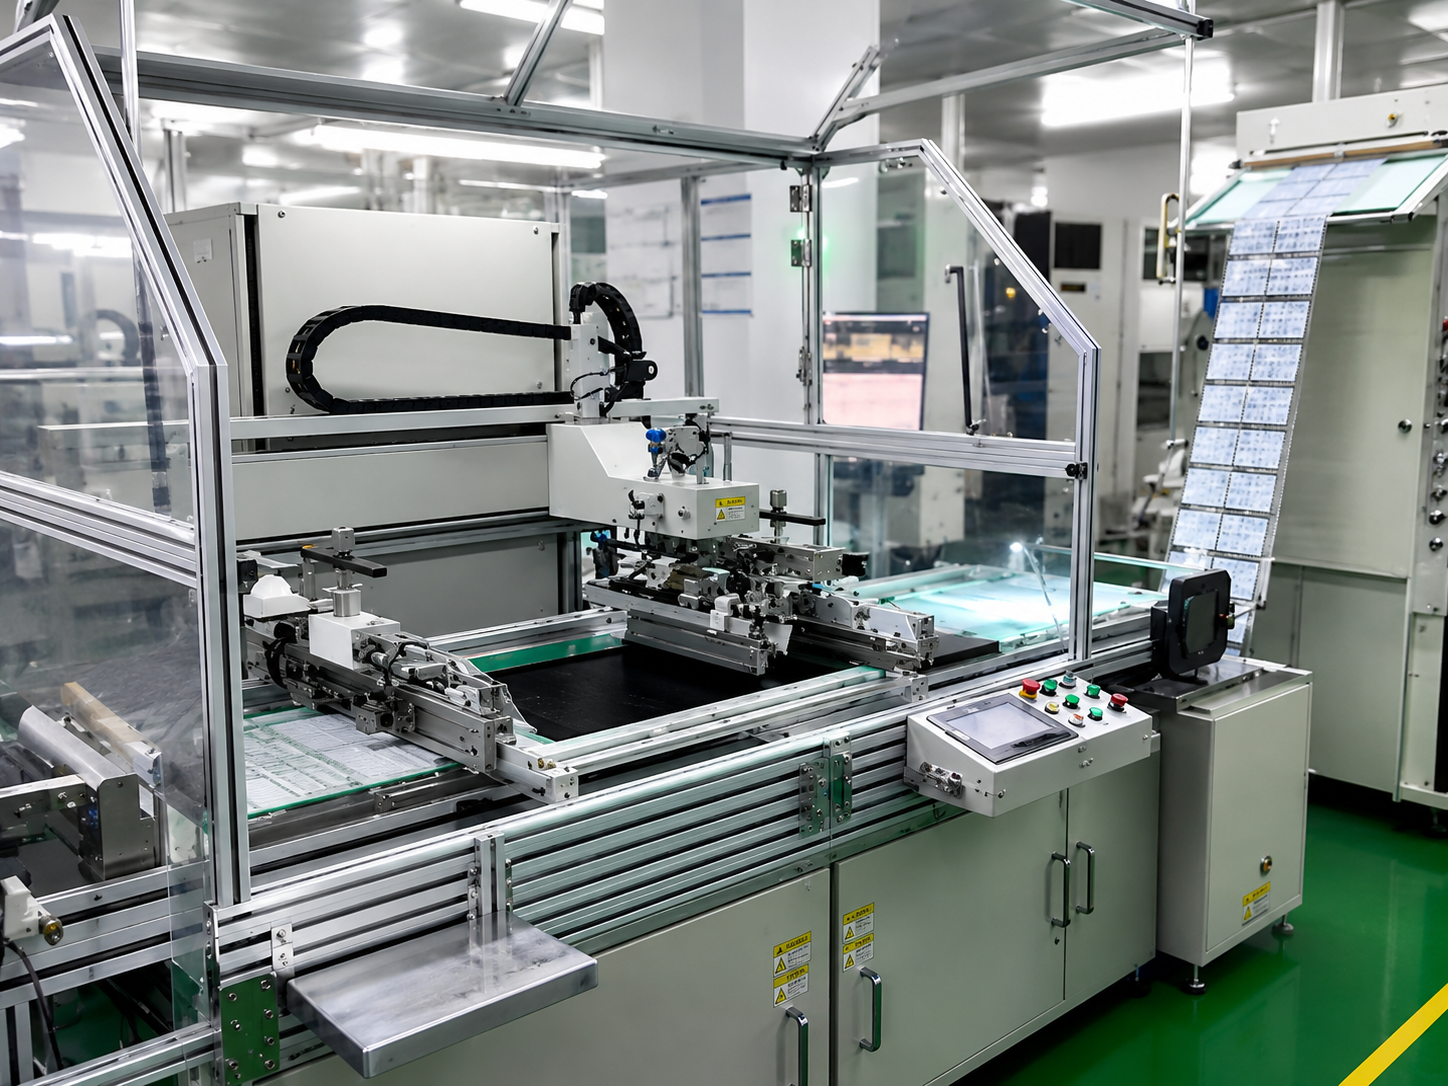
STAGE 01 · PRINTING
Where appearance and function are printed onto the material.
Printing creates colour, graphics, masking, optical layers and conductive traces where required. Registration control keeps printed layers aligned with later cutting and assembly.
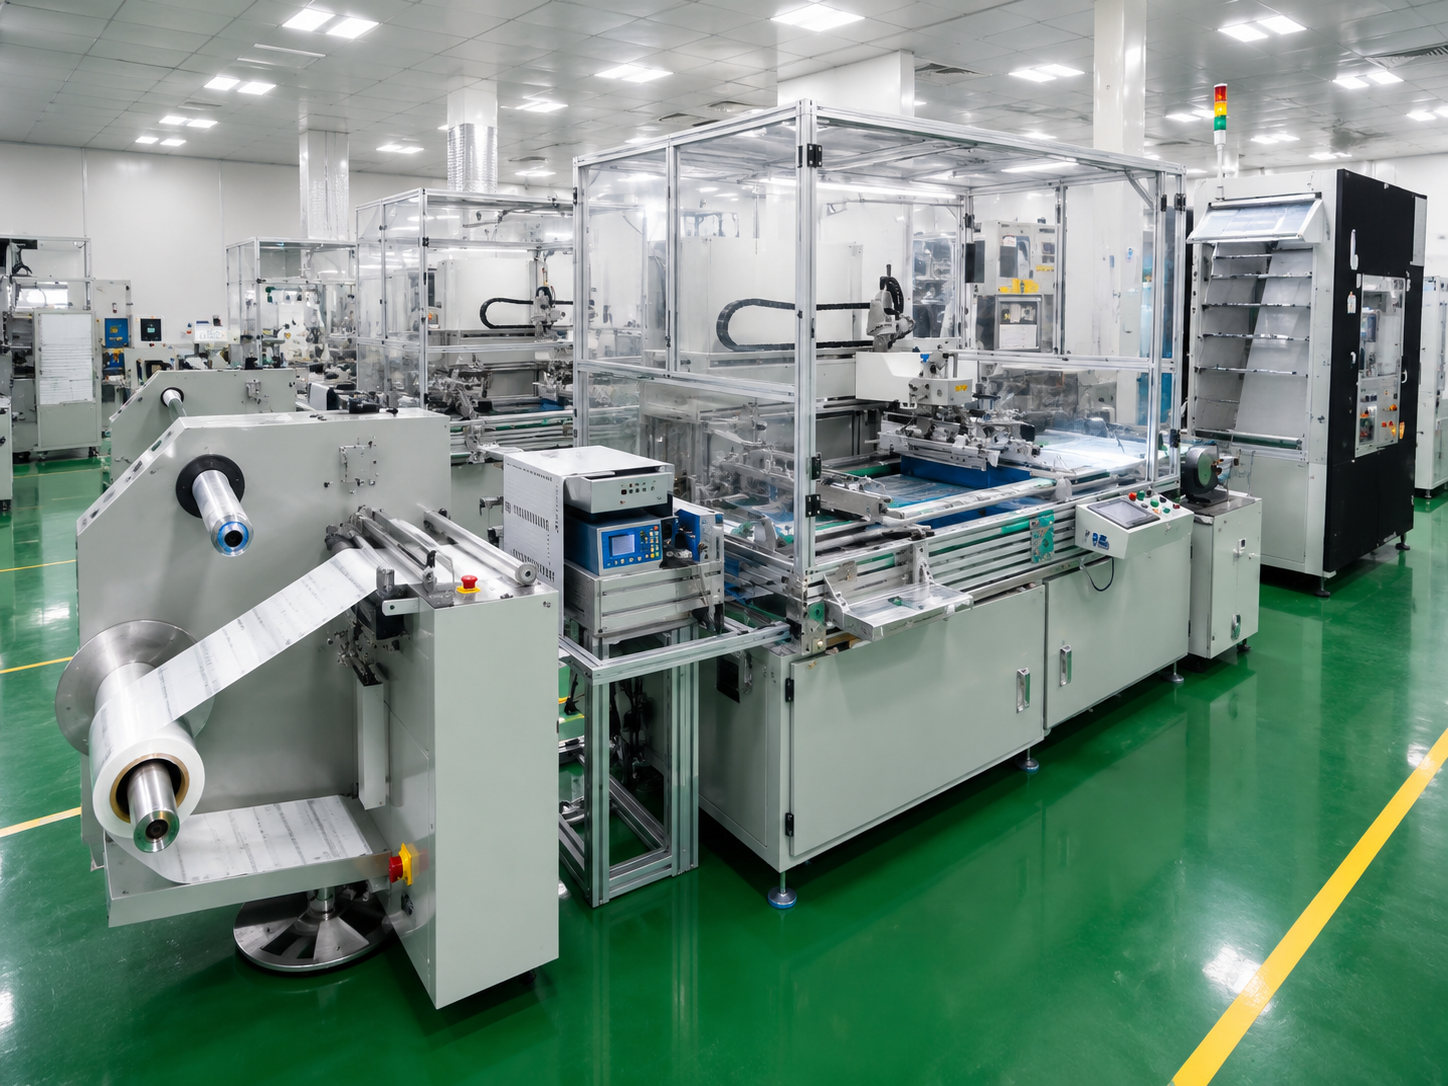
STAGE 02 · DIE-CUTTING
Where layered materials become shaped functional parts.
Films, adhesives, foams, insulation materials and foils can be laminated, cut and cleared into precise parts with the required outline, holes, layers and assembly position.
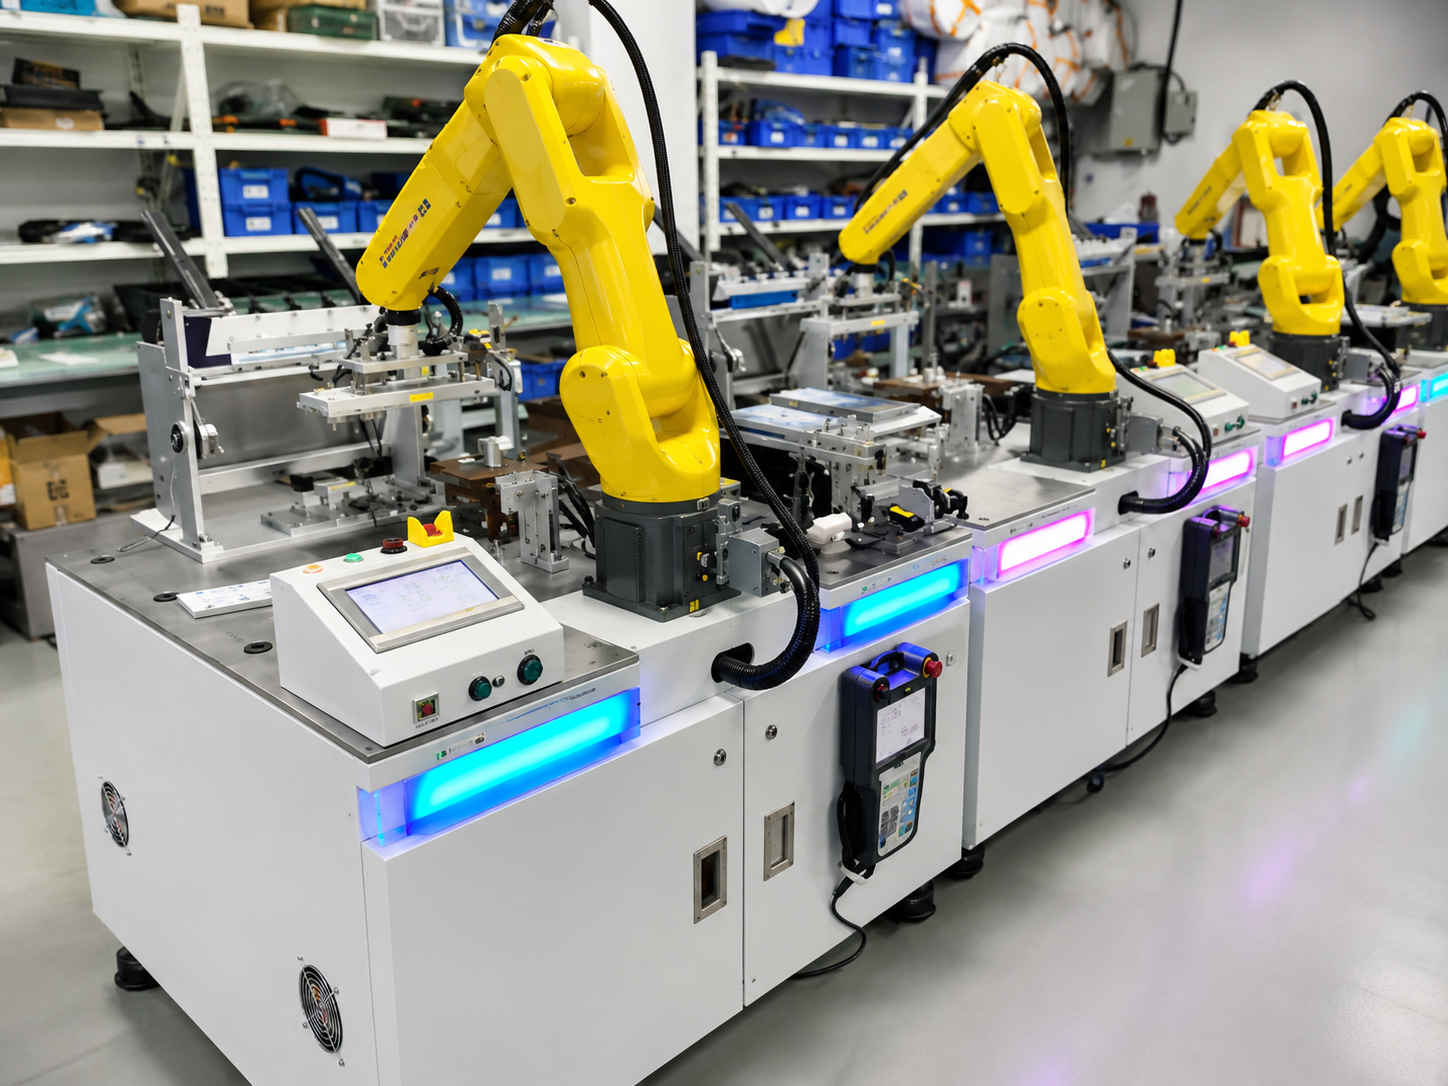
STAGE 03 · LAMINATION, OPTICAL ASSEMBLY & INSPECTION
Where parts become inspected assemblies ready for use.
Cover lenses, light-guide films, backlight parts and printed layers can be laminated and assembled into inspected components or modules, ready for the customer's next assembly step.
Colour, held
Colour held to the sample.
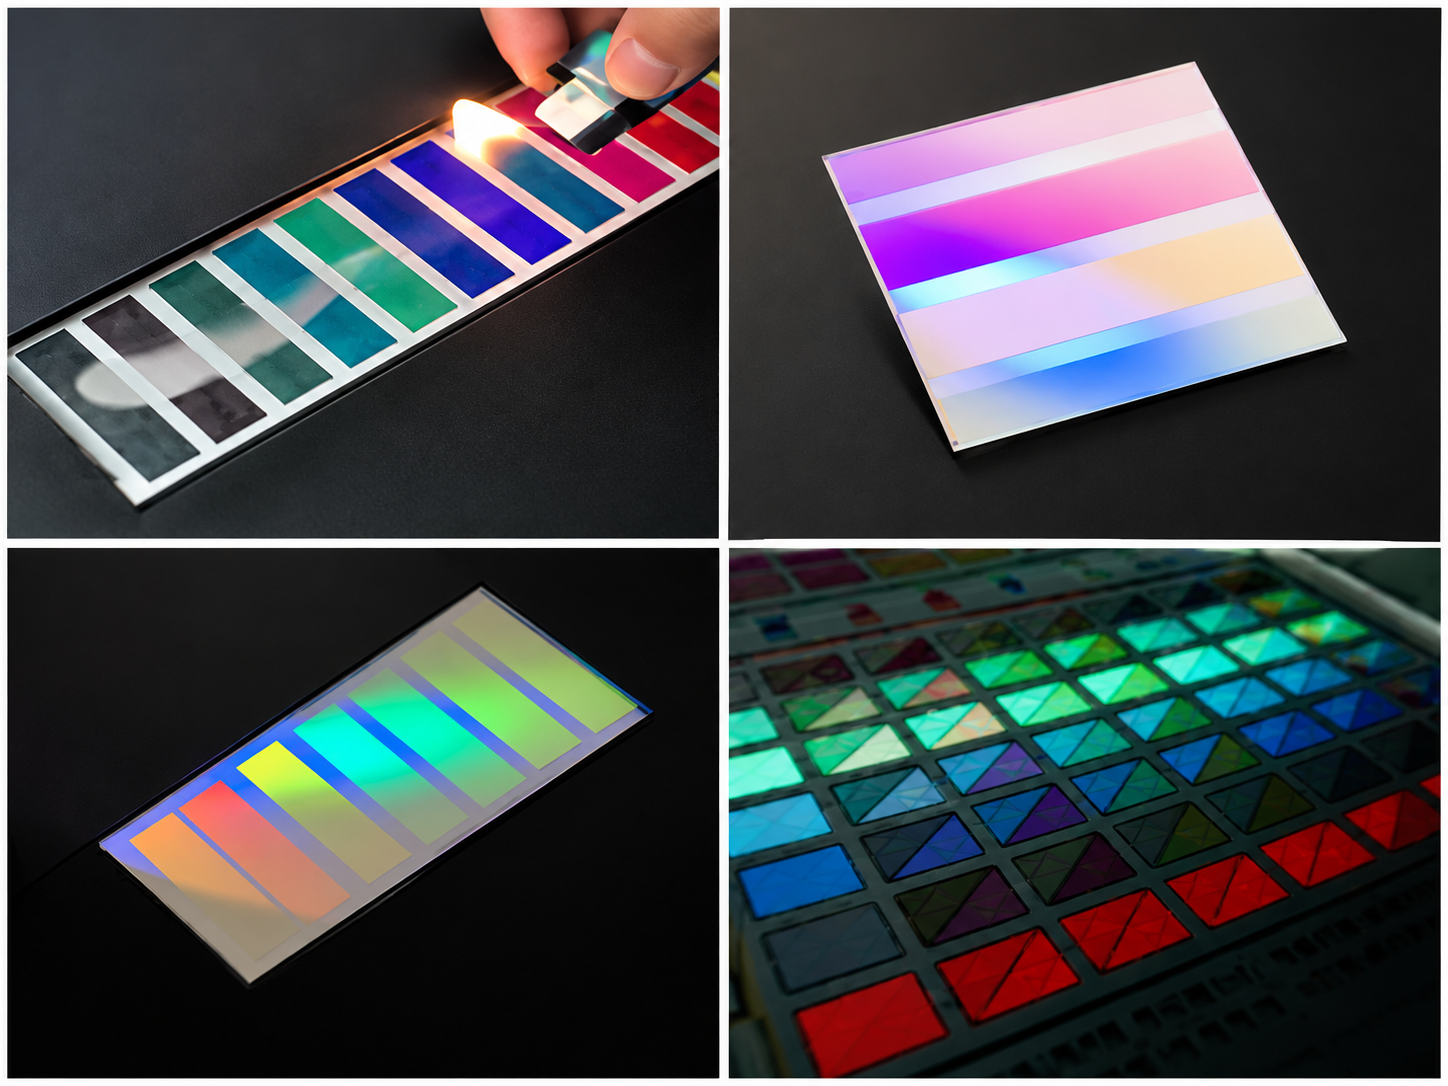
Printed colour is checked against the approved sample or colour standard, with adhesion and wear testing where required, so the colour, ink layer and surface finish approved during sampling can be carried into production with control.
THE HARD PART
The one thing we're known for.
Anyone can print a panel. Printing one that stays a clean black face and then lights up perfectly — even, colour-true, and the same on every part — is the line between a print shop and an optical supplier.
Deadfront printing
Icons that stay hidden until the product lights up.
On control panels and appliance fronts, deadfront printing hides icons behind a dark surface until the backlight turns on. The challenge is not the idea itself, but making it repeatable: ink layers, diffusion, brightness, colour and second-surface printing all have to work together so each panel lights evenly and consistently.
- Hidden when off — icons disappear behind the dark surface.
- Even when lit — diffusion helps reduce hotspots and dark corners.
- Protected in use — second-surface printing keeps graphics behind the front face.
That is the difference between printing a panel and controlling an optical-print component.
Explore the design considerations behind Deadfront Printing →BEFORE TOOLING
Check the conditions before the part is made.
Before tooling or cutting begins, we review the conditions that affect whether the part can be made, assembled and delivered reliably:
Design for manufacturability
We review the part before tooling so material, fit, bonding and print decisions are checked early, not after production starts.
Prototype to production
From first sample to ongoing production, the part follows the same manufacturing approach, so conditions approved early do not need to be redefined later.